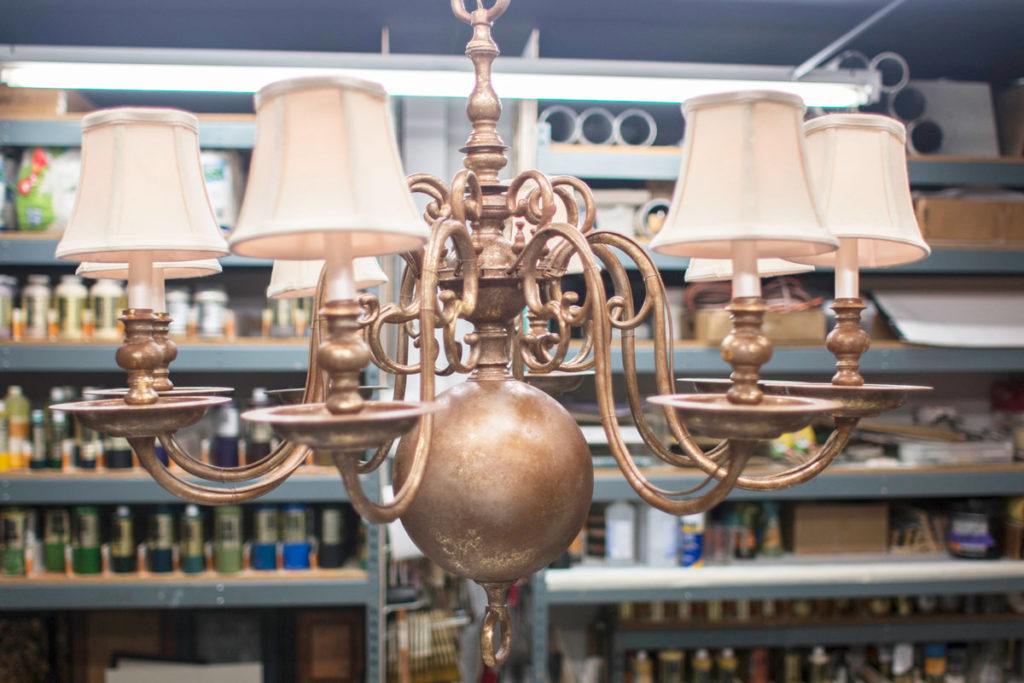

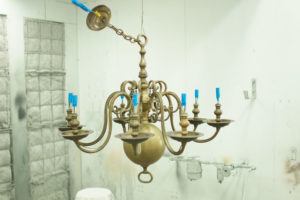
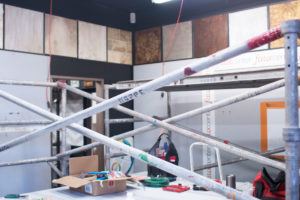
Hi Guys! So we’ve had this old chandelier collecting lots of dust up in our attic and we got the bright idea (no pun intended) to pull it down and put it to good use. It’s dated and dirty but with our expertise of making old things beautiful, we decided to refinish it and install it in our renovated teaching studio.
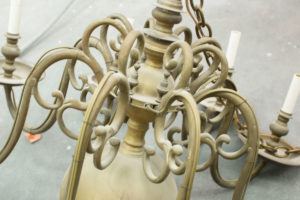

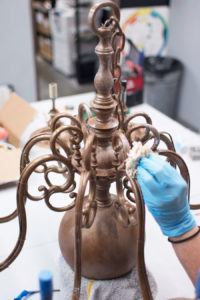
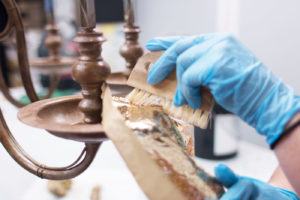
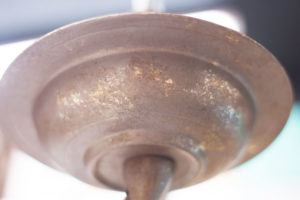
As you can see it’s super filthy so it’s gonna need a good bath before I can get to the fun part of painting! I first dusted it with a brush to get most of the excess debris off.
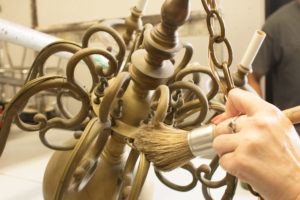
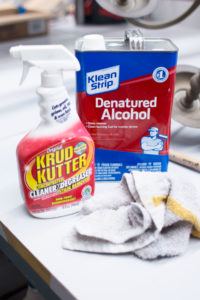
Then I went to some of my favorite cleaning products to do a deep clean and to make sure all dirt, debris and grease were removed.

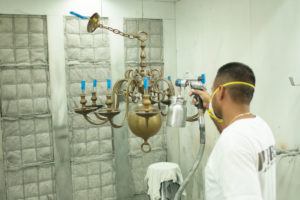
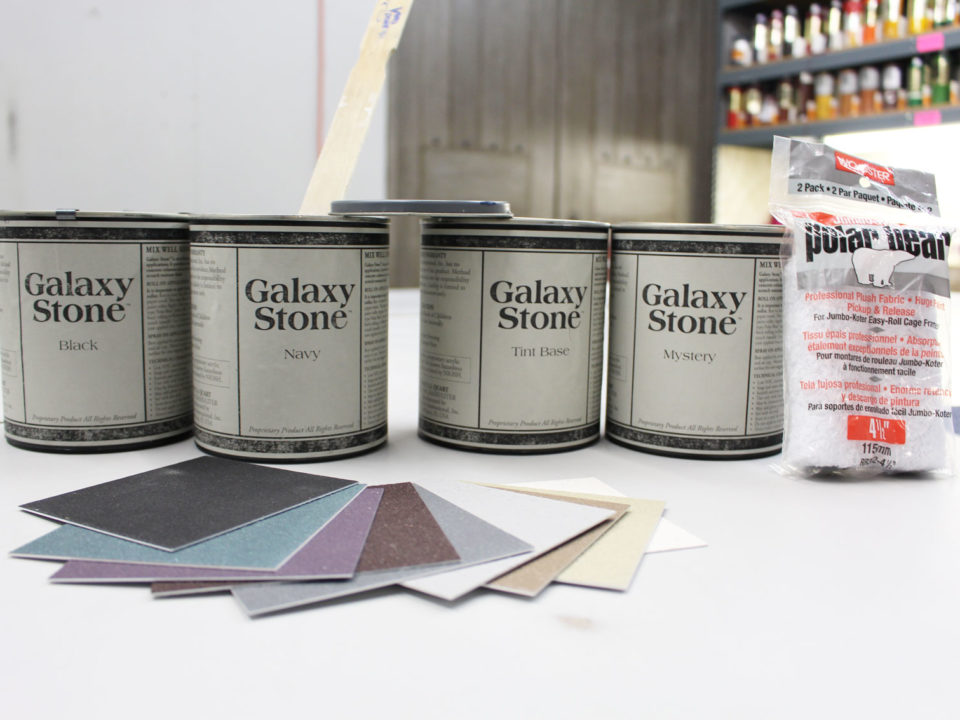
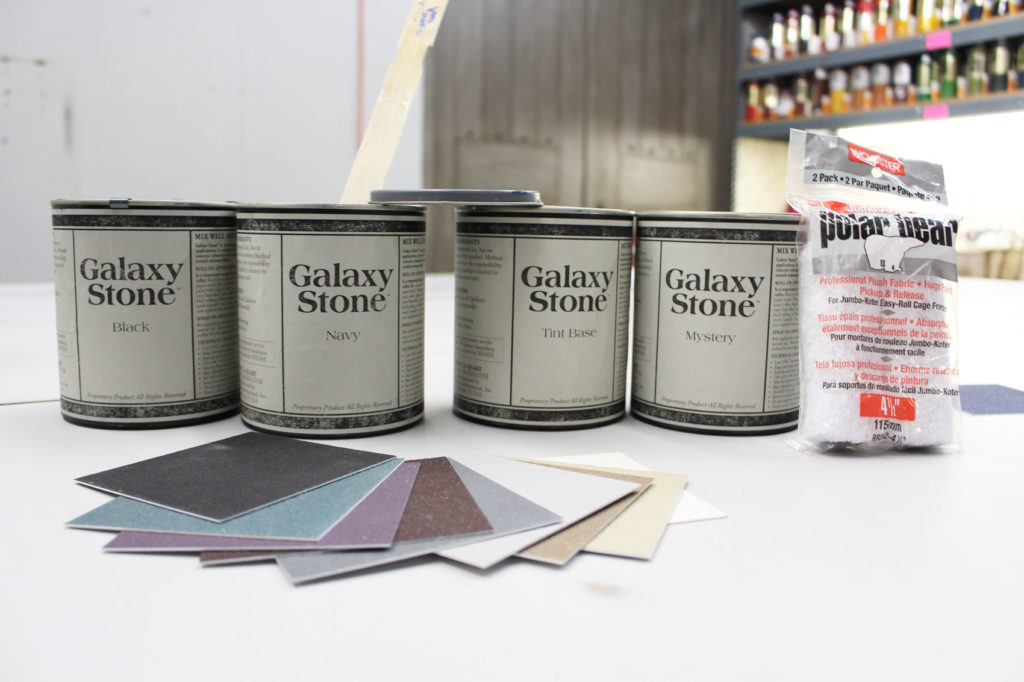
Ok, now the fun part! I taped off the light sockets and we sprayed 2 coats of Designer Metallics—I chose Charred Platinum with the Silver Concentrate. One of my all-time favorite colors that goes with everything. If you have never used this product, you need this in your life! The reason I love this product, besides the wonderful pre-tinted colors they come in, is because they are so versatile. Countless options for walls, metal, wood and beyond. It comes in Textured as well. And… VOC Compliant.
(On that note….if you ever want a cool project to expand your color options with Designer Metallics, you can make a bunch of different shades just by changing your Metallic Concentrate color into the base color of your choice. The concentrates come in Silver, Rich Gold, Pale Gold and Copper. You can even mix the concentrates together and then add them into your Designer Metallic base color to create even more shades. I personally like Silver and Rich Gold together. Side note: Just don’t use the concentrates by themselves as they do not have binders and will not adhere to your surface.)
Ok, back to the project. Since we’re a team around here, Juan helped me spray.
And my friend Jorge—he keeps me smiling around here, he wanted in on the fun, too!

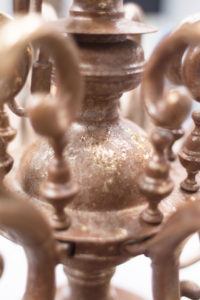
Here you can see the difference in color from the old and dingy brass.
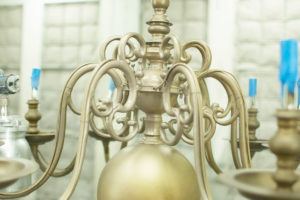
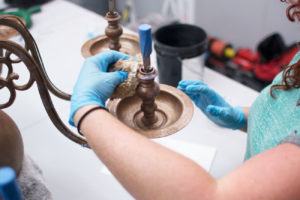
For this next step, I stayed with the Designer Metallics, but this time I used the Textured version. The color I chose was Charred Bronze with NO metallic concentrate. The base colors can be used without the concentrates if you like. Talk about color options!
I used a good ol’ chip brush to stipple on the color in random areas and had a damp sea sponge ready to blend if needed.


Here’s a better look when this step was completed.


Such a big production for such a little piece! But it’s gonna be BIG on the wow factor!
I’m happy so far. 🙂

Once we got it installed, I did my last step. I wanted it to have some pizzazz and be able to catch the light, so I used Designer FoilFX™ for a subtle glitzy effect. If you haven’t heard of foils and how they work, you can read my blog on that here.
I used the DesignerFoil Size and a damp sea sponge and applied it randomly over the entire surface. The sea sponge helped me to get into all the nooks and crannies. And there were many.
Here comes the foil! After the size set up about 30 minutes (or till it becomes clear), I laid the foil down—shiny side up—then used a stiff brush and other tools to adhere it to the surface.
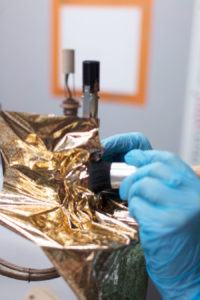
Then like a band-aid, you pull the foil sheet off. What’s left behind is a lot of beautiful. I did this step wherever I had size on the chandelier.

The finishing touch was adding some nice shades to it. Then we put in a dimmer switch and even finished a ceiling medallion to match. So elegant!


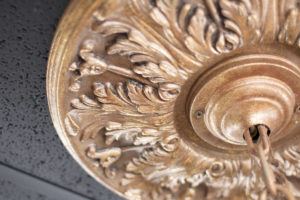
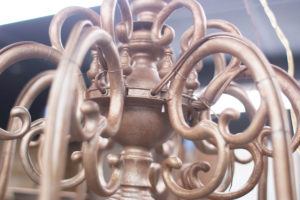
Here’s some of the details of the foil

That was fun! So, what do you think? I’d love to hear your feedback and be inspired by YOUR projects too! Feel free to share!!
Stay creative, my friends. Till next time!