Headed To The Island: Antique Finishing
Headed to the Island…in the Kitchen.
As much as I’d love to break away for a nice vacay and head to a real tropical island, there are just too many projects that need to be painted. It’s a sacrifice and I do it for you—I’m a public servant, really
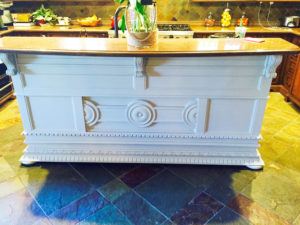
So here’s this kitchen island. I got the call that it needed some help—and yes, by the looks of this lackluster white, this kitchen island indeed was in need of a new life. This beauty was actually an old antique piece that was rebuilt and redesigned into a kitchen island. How great, right?! So much character to reveal, so that’s exactly what I went to work on in this antique finishing project.
First things first, I had to start with some inspiration.
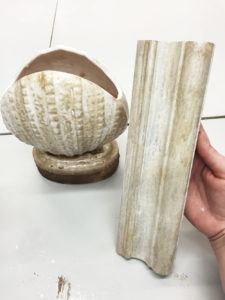
In this case, a small decorative piece in the home that embodied the exact color and feel that the client wanted to see in their home. A cute little seashell with some golden undertones. So I created a sample. ALWAYS, start with a sample. You will never know where you are going if you don’t know where you are starting! That could also be interpreted as a nugget of philosophical advice for everyday living.
Told you I’m a public servant.
I prepped the space and cleaned the island really well to remove dust and debris with Krud Kutter and IPA (isopropyl alcohol–but you could also use denatured alcohol, whatever you prefer).
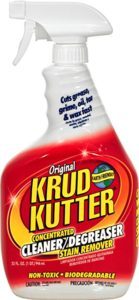
Side note: Krud Kutter has been by far the BEST non-toxic all purpose cleaner and degreaser for everything on the job and in the studio (and your home too! Throw out the toxic stuff!). If you let paint dry on a brush where it’s now hard as a rock–soak it in Krud Kutter full strength for a few hours or even overnight and scrub with a wire brush cleaner. BOOM. New brush. This works exceptionally well for your better brushes you want to save, but it even works for chip brushes. I actually hate throwing chip brushes away, because they get better with age. Just like wine. Is that why painting and sipping wine go so well together? Is it just me? Um…nevermind. (By the way, that has never happened on a paid job, I felt I needed to clarify for a minute, ha)
I brushed on a custom color of SetCoat®. Which by the way, SetCoat® can be tinted into any color just like they do at your local home improvement store. When you call us to order, ask for SetCoat® PTS.
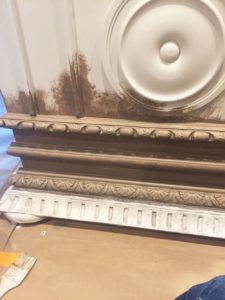

This is where it gets fun! Old World Finishing Paint ™
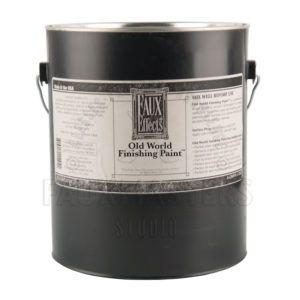
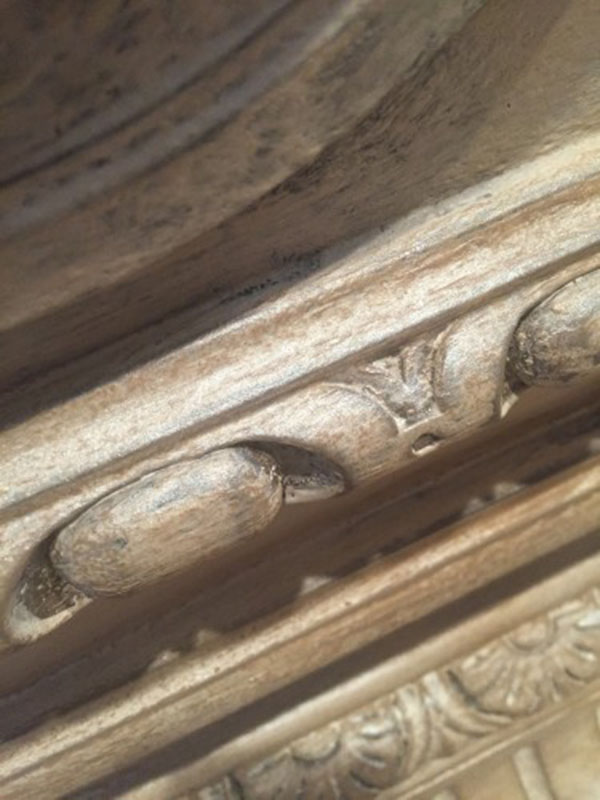
My new favorite and a super duper star of a paint. Old World Finishing Paint™ is very unique. After it dries, it can still be blended and re-softened with just water, so you can distress and wash back with ease to reveal multi-layered colors. It also sands smooth like glass. As you can see here, I haven’t softened it yet, so the texture is very choppy. Just wait.
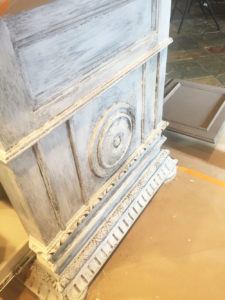
I applied the Old World Finishing Paint™ with a pointed glazing brush till I liked the visual movement, allowing some of the basecoat color to come through to give it the multi-layered effect.
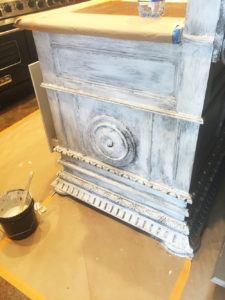
I let the paint dry before I wash back and blend. I find this helps to give me more control and not fuss too much with wet paint. Using a damp terry towel works great too, but after applying my first coat (actually only one coat was needed) of Old World Finishing Paint™ and letting it dry, simply using a clean, wet pointed glazing brush was sufficient to move the paint around.
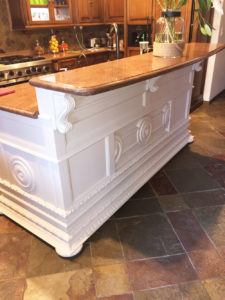
Once I got the Old World Finishing Paint™ blended where I like it, I then created a custom glaze with a soft golden tone to pick up on the hues of the inspiration piece. I dry-brushed onto the surface in random areas, still using the pointed glazing brush, allowing some areas to be lighter and darker to help create the antique, weathered effect.
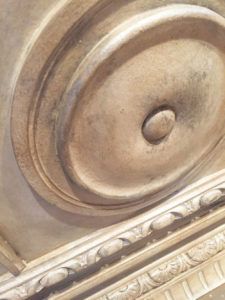
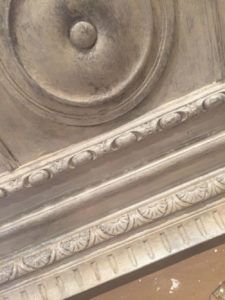
Once that glaze layer dried, I then made a separate glaze with FauxCreme®Clear and Pearl MicaGlow™ Powder.
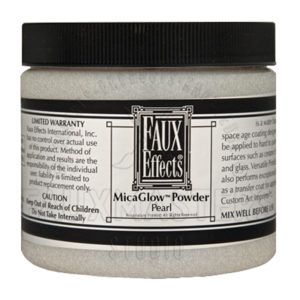

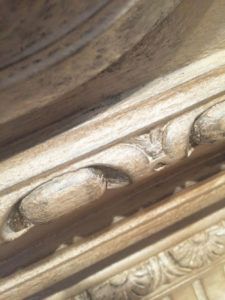
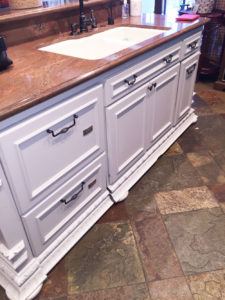
This gave the finish a very subtle shimmer, which was a perfect fit with the décor of the home, reminiscent of a seashell. Like the inspiration—imagine that!
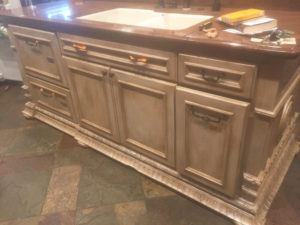
Considering the size of the island and the time it took me to complete, this was a very easy finish to accomplish. It wasn’t a 12 step process which makes it so nice when you have projects that you need more bang for your buck—or those clients that don’t want to pay for that many layers.